Choose the right tile for each surface
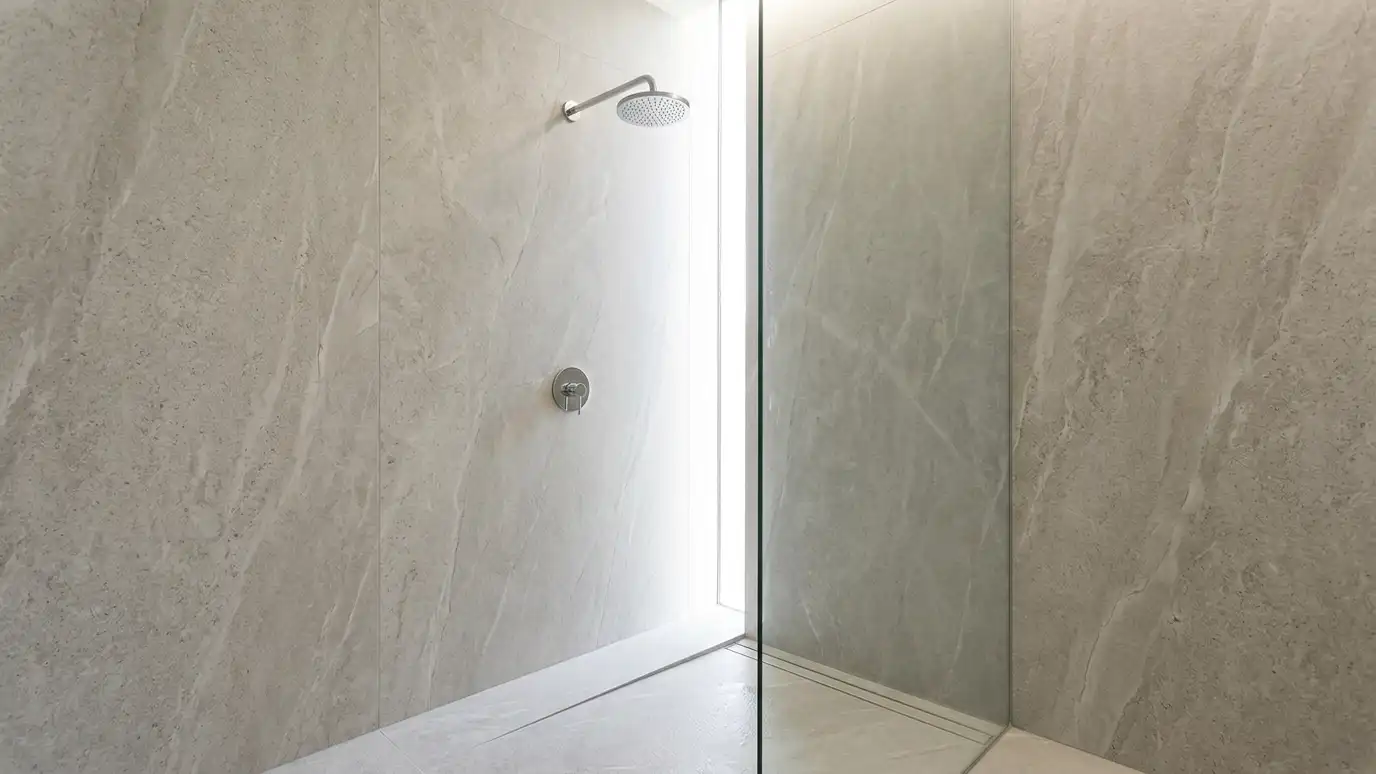
Walls, floors, niches and benches have different needs. Large tile on walls reduces grout lines. Small tile on the floor follows the slope and adds grip. Bench tops and curbs need tile that handles wear.
Make sure the tile is rated for wet areas, and for floors where needed.
We help you match tile to each part of the shower.
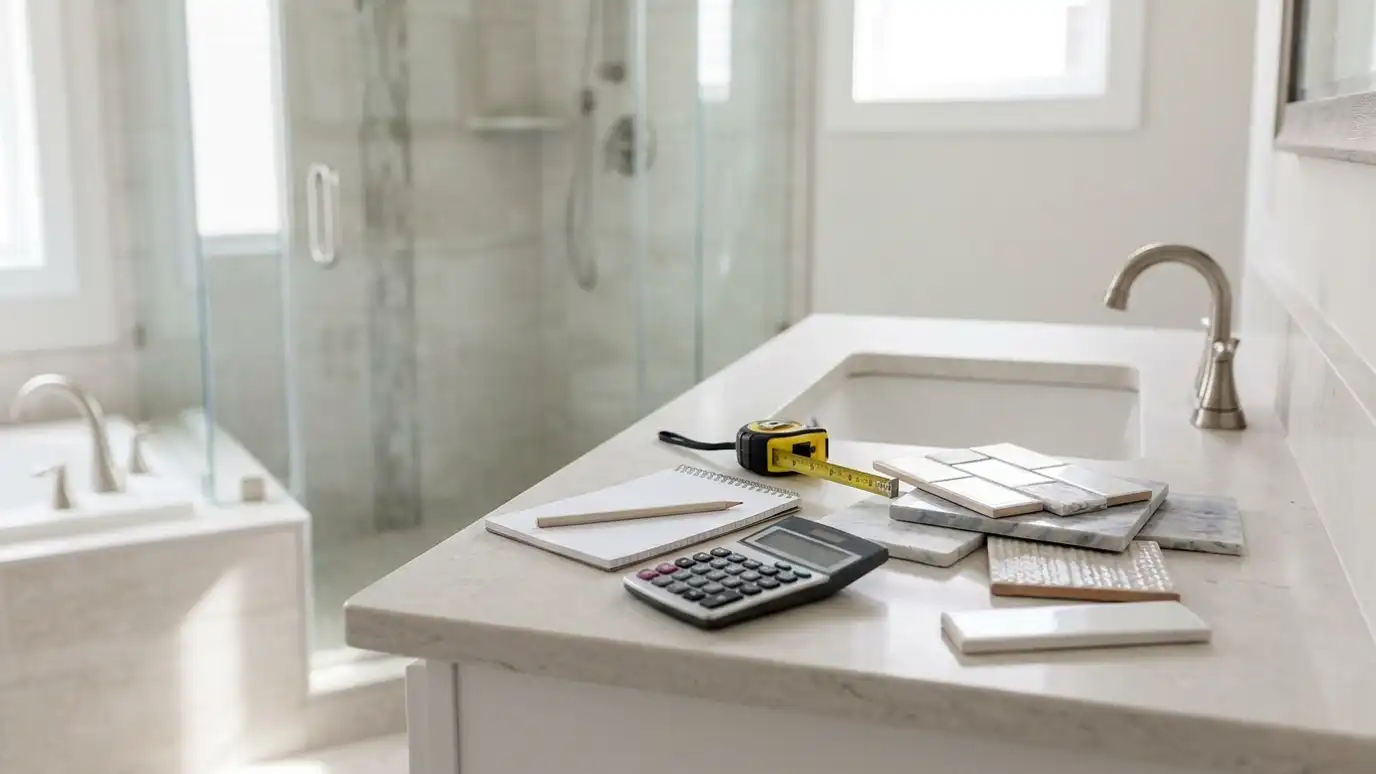
Walk through a tile showroom with your shower dimensions in mind. A tile that looks wonderful on a small sample may feel very different when it covers a whole wall.
Size, pattern and grout
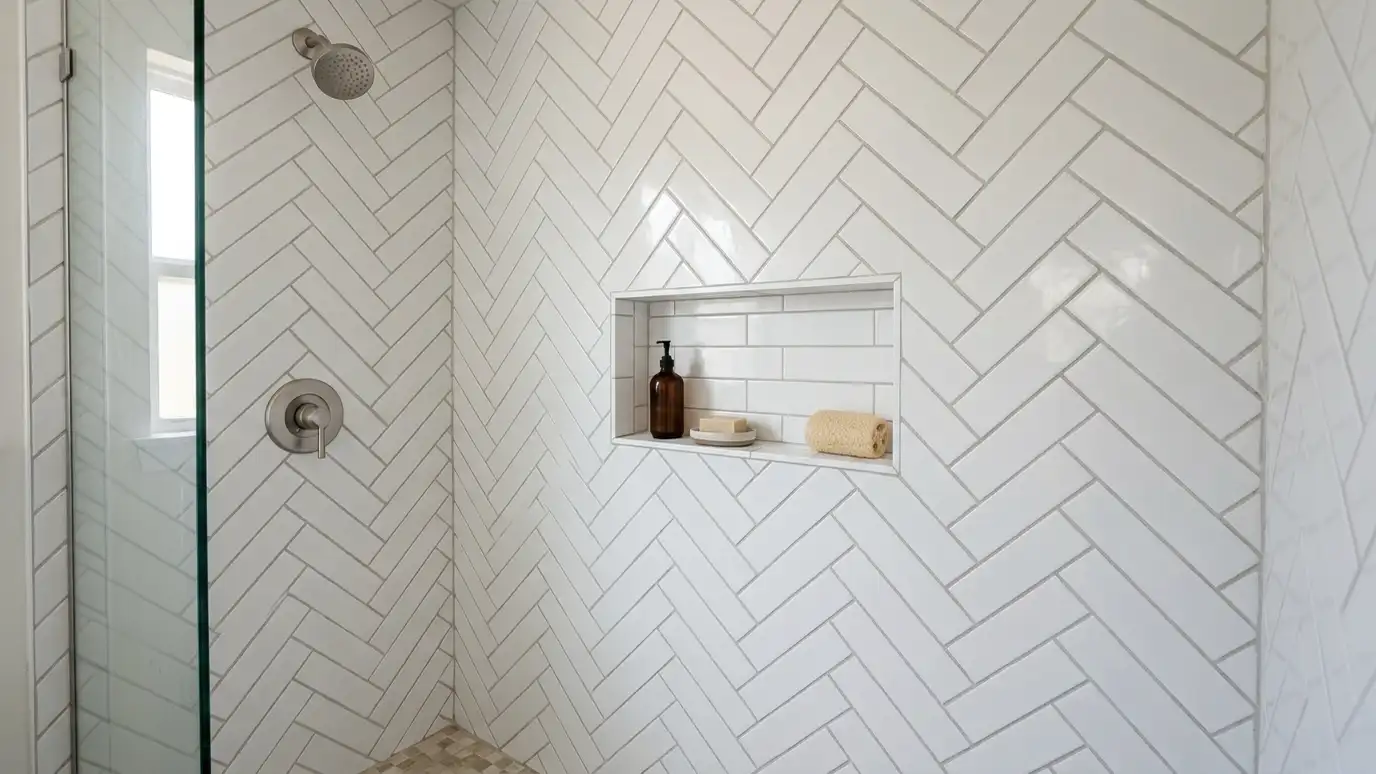
Large tile gives a sleek, modern look and easier cleaning. Subway tile is classic and flexible. Herringbone and stacked patterns add interest. Grout color changes the feel: light is calm, dark is graphic.
Thin joints look crisp, but the tile maker sets the minimum.
Ask to see grout samples next to the tile.
Mock up your pattern with a few tiles on the floor, and take a photo from where you will stand in the shower. It often reveals problems before any tile is set.
Layout planning
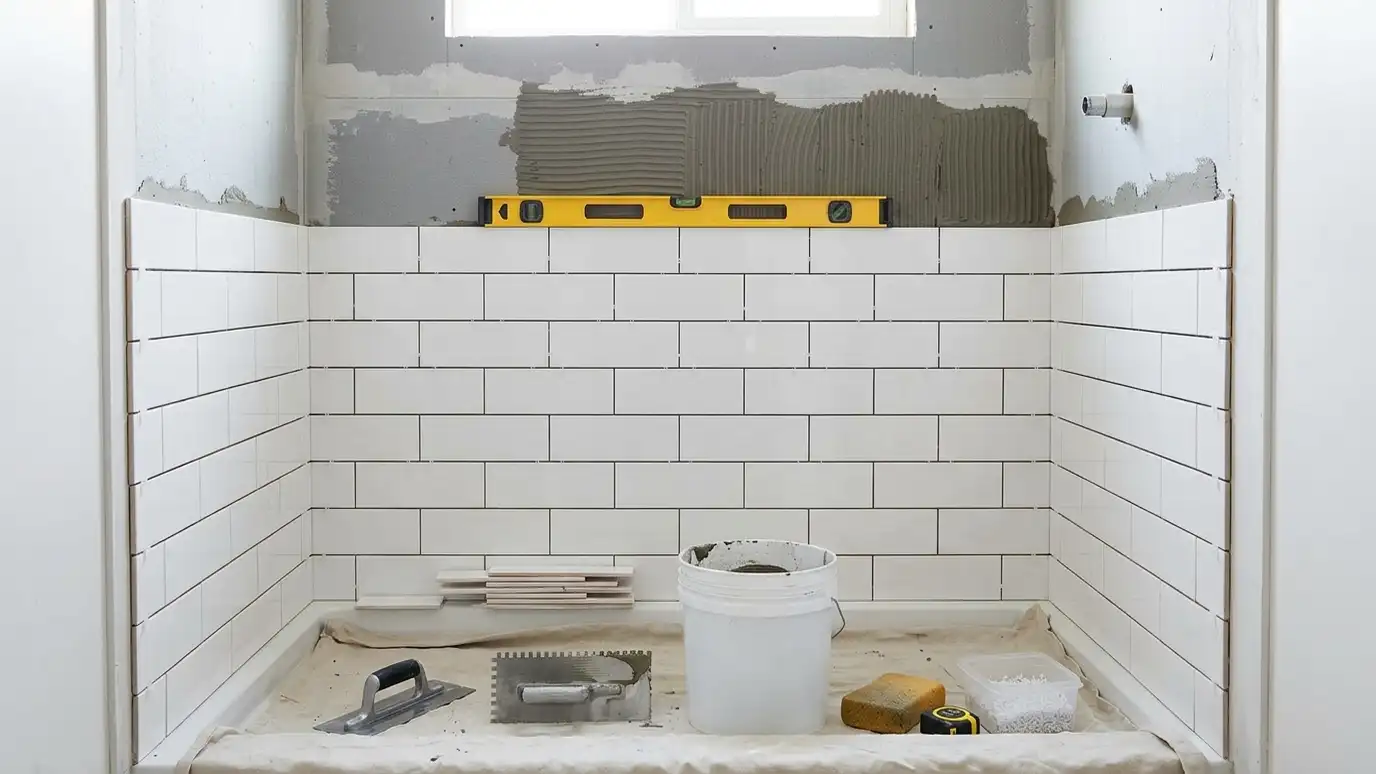
A good installer plans the layout before setting tile so cuts are balanced and patterns meet at corners and niches. Planning for the valve, showerhead and niche positions avoids awkward cuts.
Trim pieces and metal edges finish corners cleanly.
A layout sketch is worth asking for.
Ask your installer where the cuts will fall at the ceiling, corners and niche. A good plan avoids thin slivers, which are a common sign of rushed layout.
Surface preparation
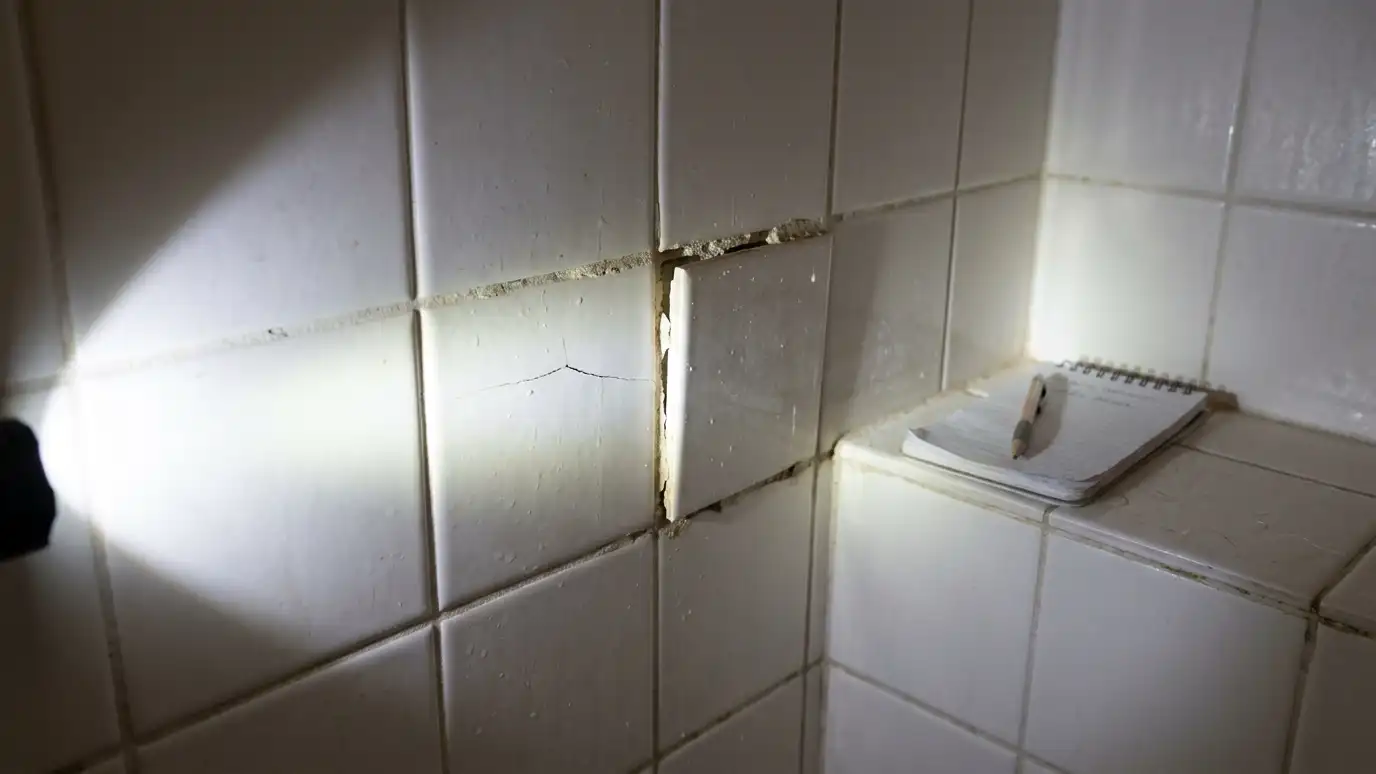
Tile needs a flat, waterproofed, solid surface. Walls are checked for flatness, and pans are sloped and waterproofed before tile begins.
Large tile especially exposes dips in walls.
We correct problems before tile goes on, not after.
If your walls are old, ask how flatness will be handled. Large tile and glossy finishes show every dip, and a little preparation makes a big difference.
Setting and grouting
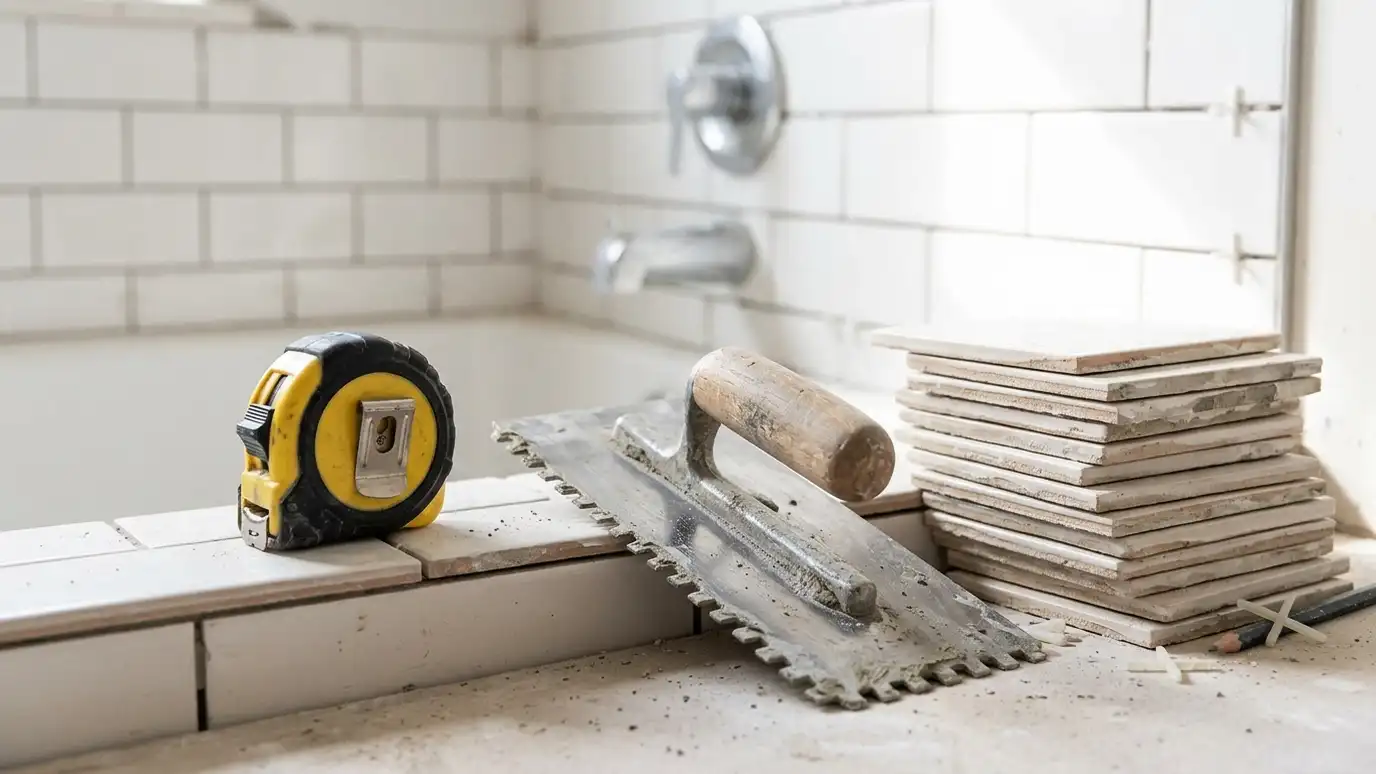
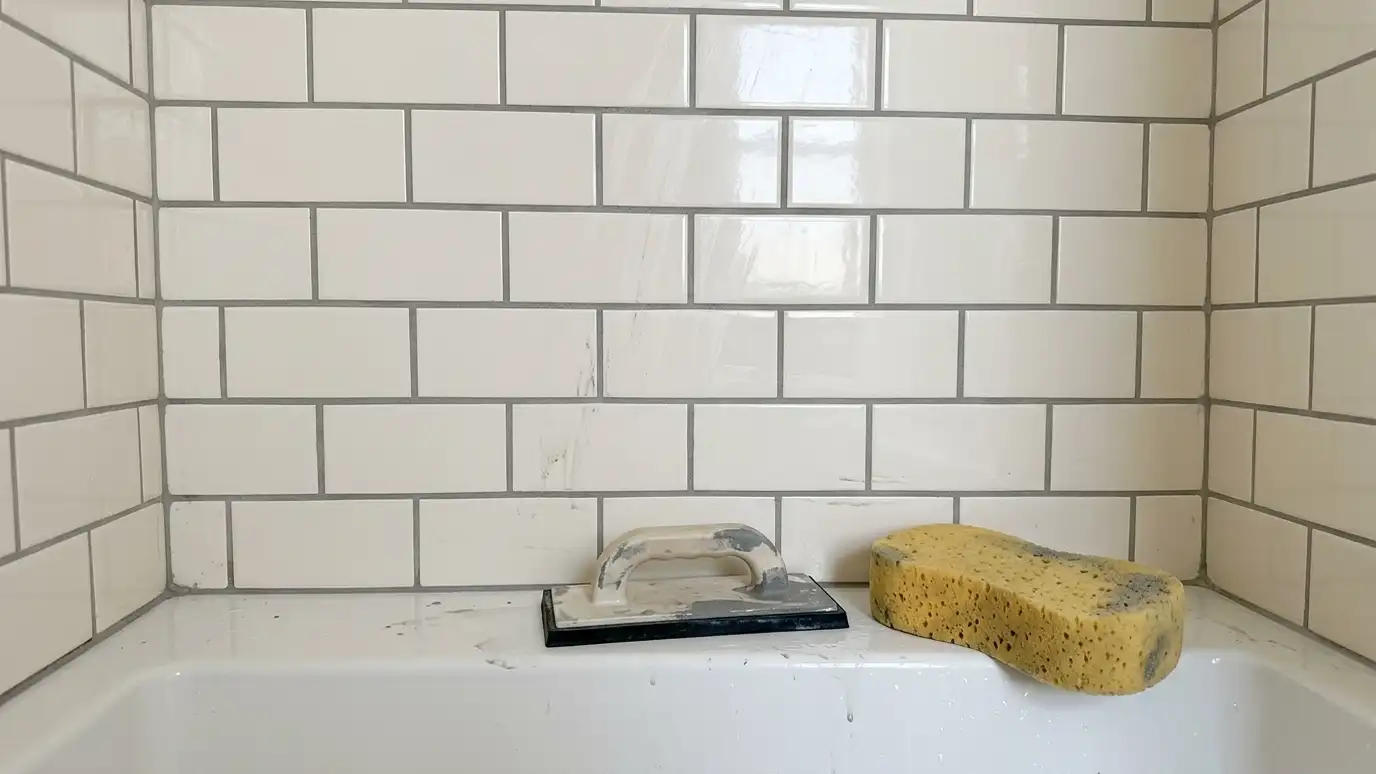
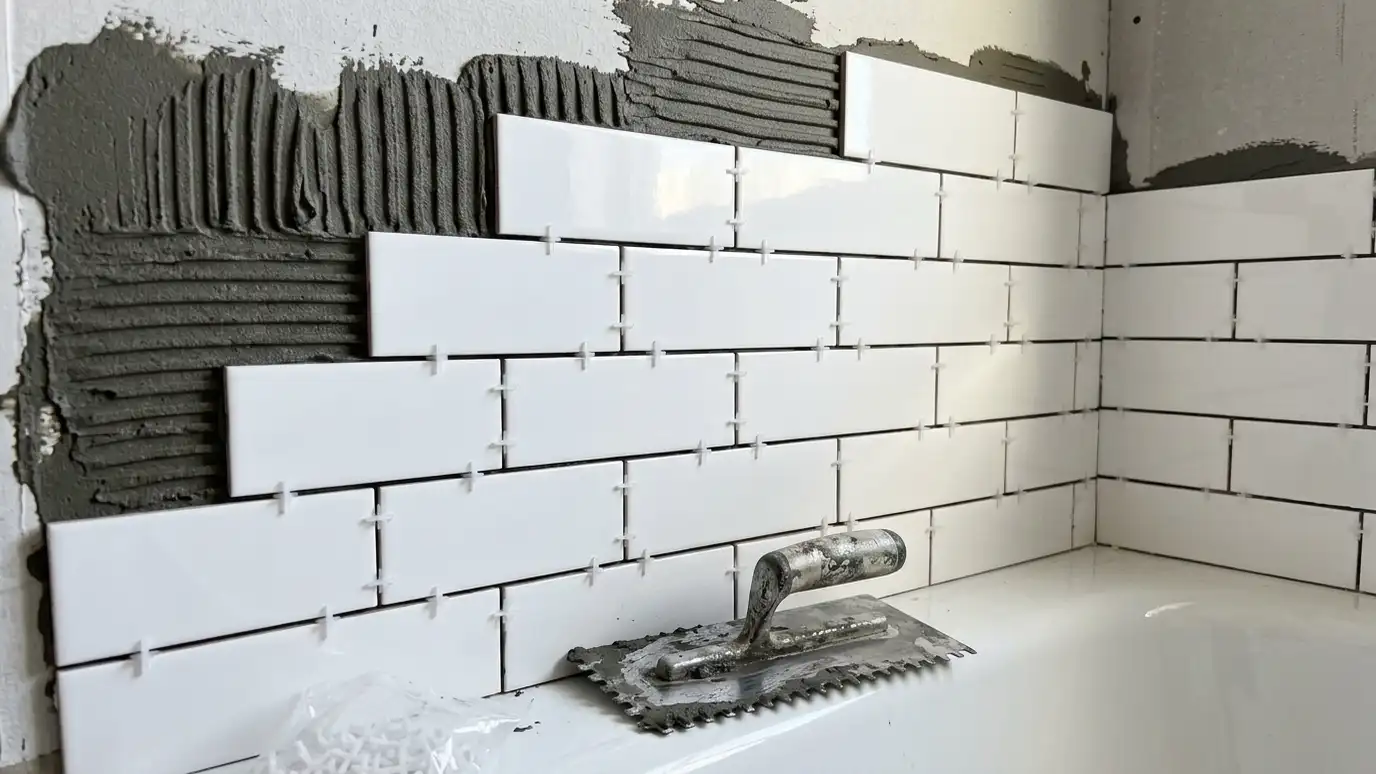
The right mortar and technique give full coverage so tiles are not hollow. Spacers or leveling systems keep joints consistent. Grout is applied after the mortar cures, then cleaned and later sealed if needed.
Corners and changes of plane get flexible caulk, not grout.
We explain cure times and when the shower can be used.
Do not wash or seal grout until the maker's cure time has passed. Following the cure schedule gives grout its full strength and color.
Care and maintenance
Clean tile and grout with a pH-neutral cleaner, avoid abrasives on stone and glass tile and squeegee after use if you like. Reseal cement grout and stone on schedule.
Keep ventilation working to reduce mildew.
A short routine keeps tile looking new for years.
Keep a few spare tiles and a note of the grout and caulk colors. Matching them years later is much easier when you have the details.
Plan the layout, prepare the surface, use the right mortar and keep up simple care.