The first call and estimate
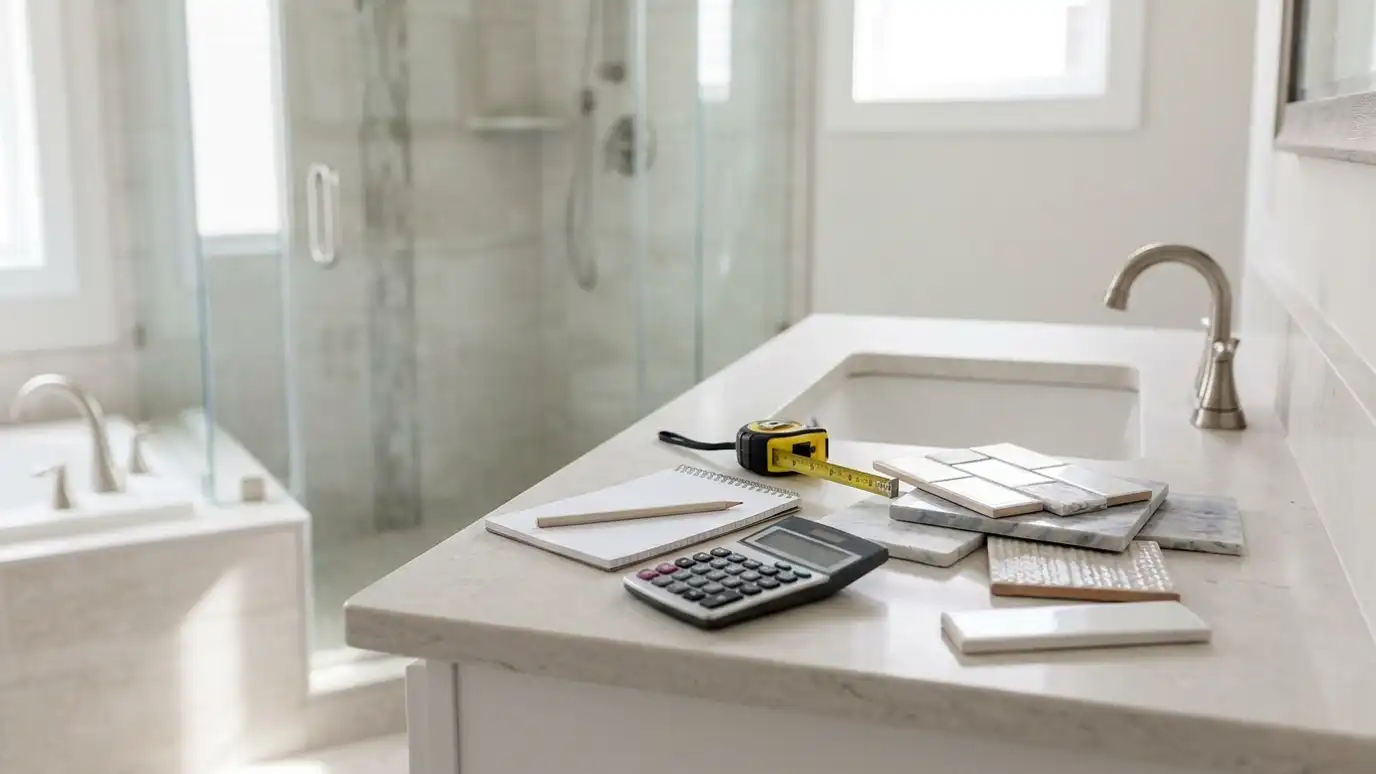
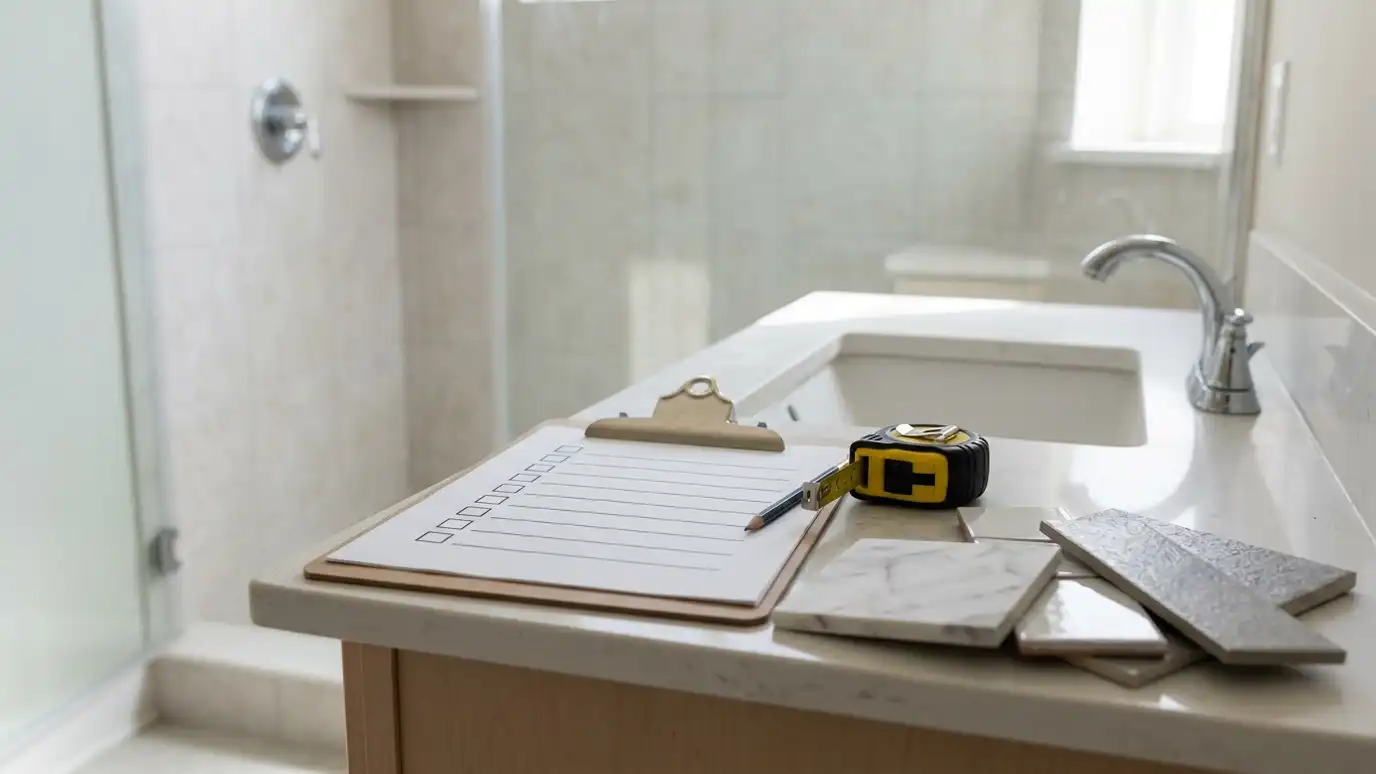
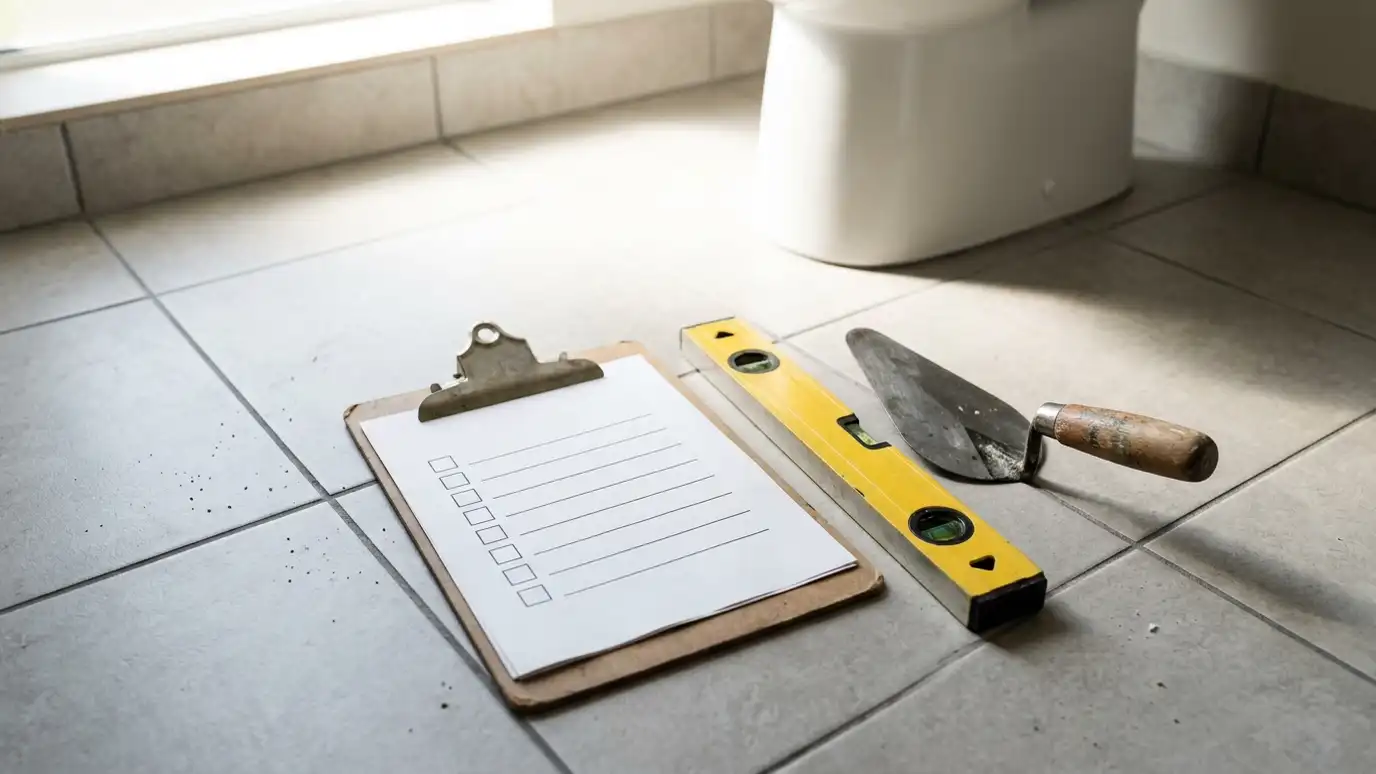
You tell us what you want and what is wrong with the current shower. We schedule a visit, measure and inspect the shower, the floor and the walls and talk about layout, materials and fixtures. You receive a written scope with options and a timeline.
If you are comparing bids, we explain how to compare scope fairly. There is no pressure and no obligation.
Photos of the shower and any damage help us prepare for the visit.
A good first call is a two-way conversation. We listen for details such as when the problem started, whether the floor feels soft and what look you want, because those clues shape the plan before anyone measures anything.
Planning and ordering
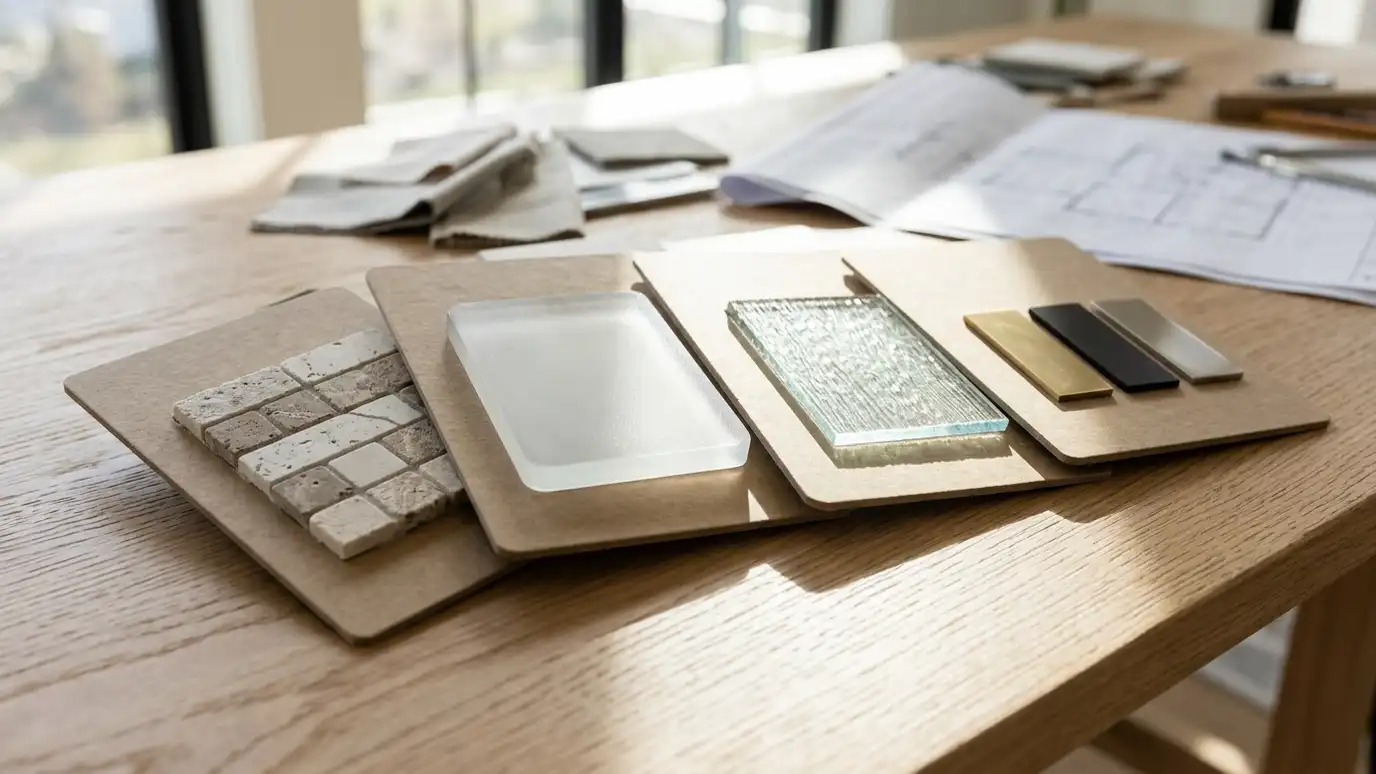
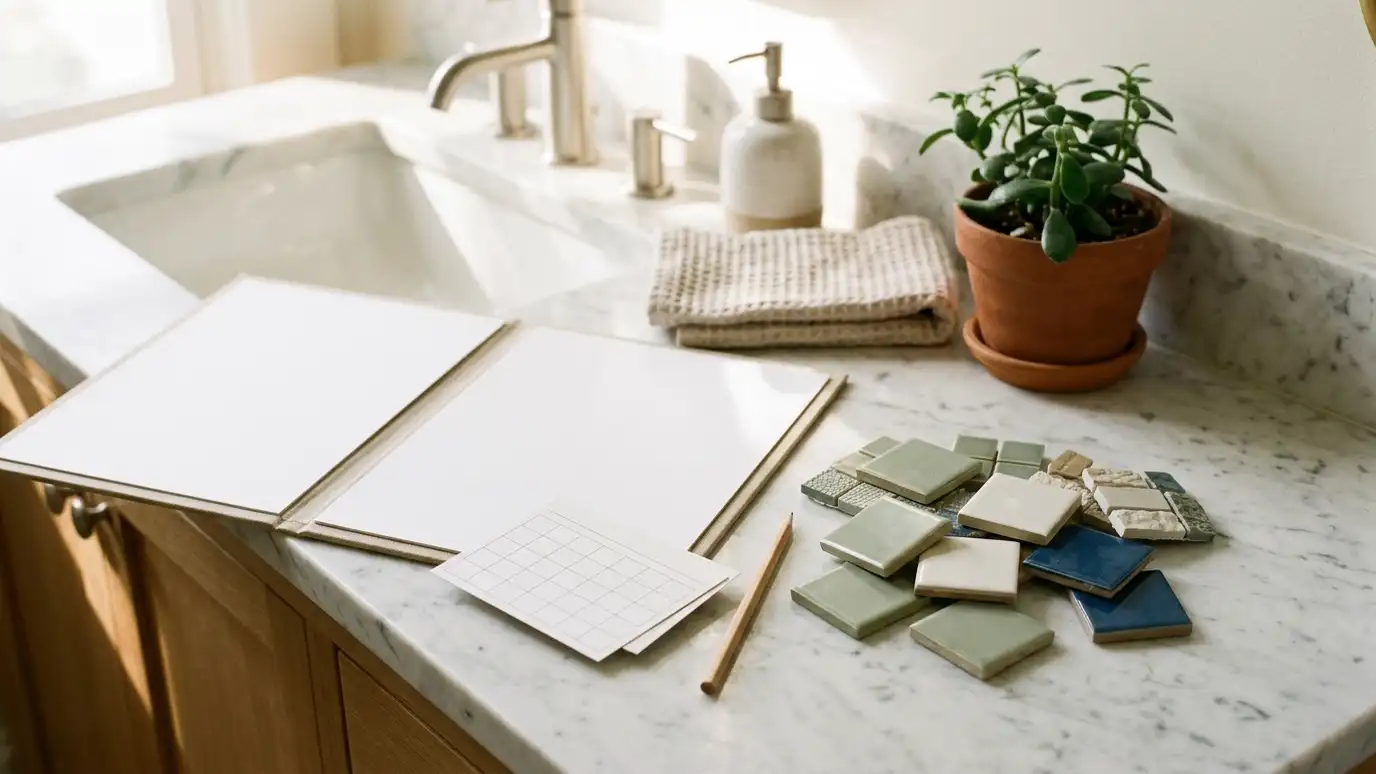
Once you approve the scope, we confirm every choice: tile, grout, fixtures, glass and layout. We build a schedule with lead times for materials, because custom glass and special tile can take weeks to arrive.
We tell you what to expect during the work, including water shutoffs, noise and dust control, and where you can shower in the meantime.
Early decisions keep the project moving, and we give you a decision list with dates.
Choose your materials and fixtures as early as you can. Tile, glass and special valves can take weeks to arrive, and a project goes much faster when everything is on hand before demolition.
Demolition and discovery
Floors and walkways are protected, then the old shower is removed. This is when hidden conditions appear: soft subfloor, rusted pipes, rotted framing or missing waterproofing.
We photograph what we find, explain it plainly and give you options before repairing anything beyond the agreed scope.
Repairs are made so the new shower has a sound structure to rest on.
During demolition, feel free to ask questions and look at what we find. A good crew is happy to show you the old pan or damaged wall and explain what it means for the plan.
Rough-in, pan and waterproofing
Plumbing is adjusted, blocking is added for grab bars or benches and the pan or base is set with the right slope. Walls get cement board or foam board and a waterproofing system, then the pan is flood-tested.
This stage is invisible when the shower is finished, so we take photos for your records.
Cure times for membranes and mortar are respected, because rushing them causes problems later.
Ask to see the waterproofing before tile covers it. A good contractor is proud to show it and will take photos for your records, because it is the part of the shower you will never see again.
Tile, glass and fixtures
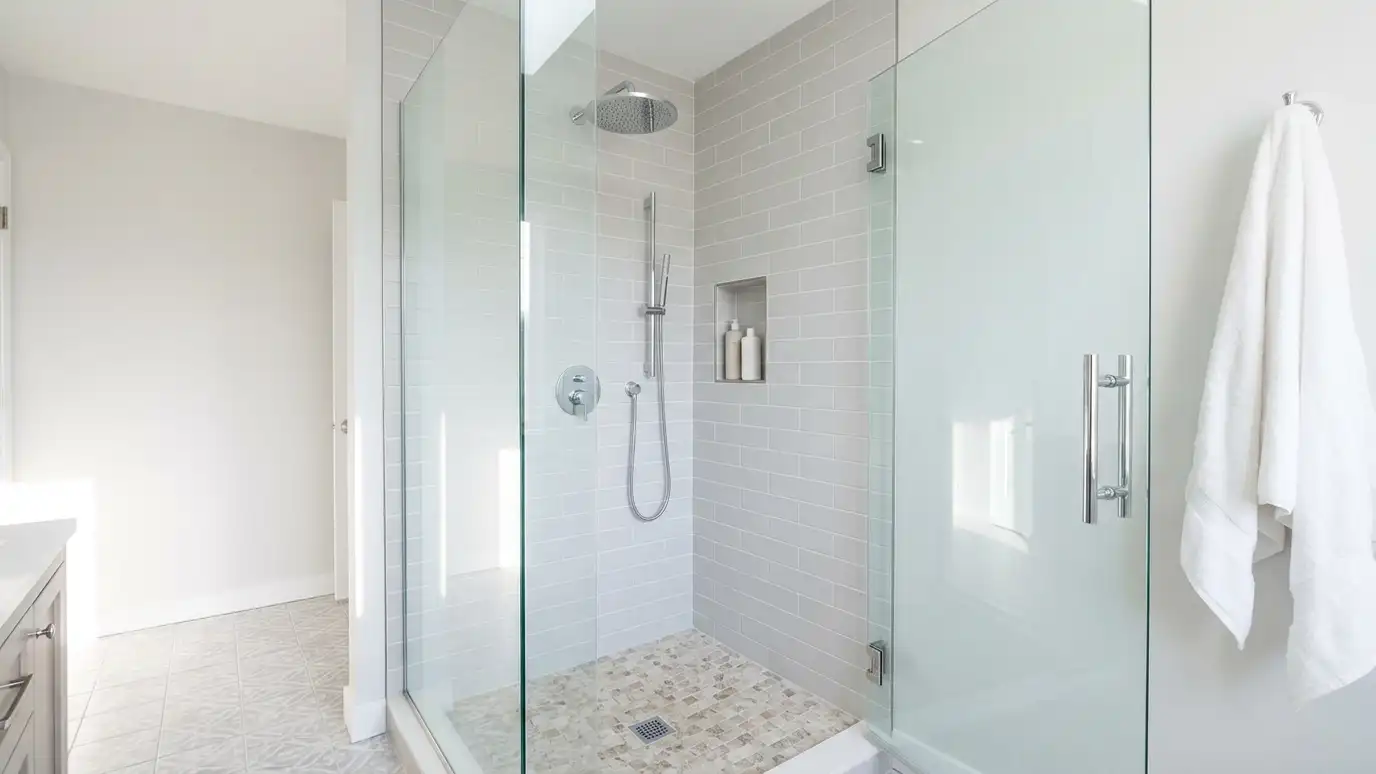
Tile is set, grouted and caulked at corners. Fixtures are installed and tested, and the glass door or enclosure is fitted after final measurements.
Small details, such as trim, niche edges and caulk lines, are checked and corrected.
Water is turned on and each outlet is tested for flow and leaks.
Small details decide how a finished shower feels: even grout lines, neat corners, smooth caulk and a door that closes softly. We check these at the end of each stage, not only at the very last step.
Cleanup and walkthrough
We remove debris, clean the bathroom and walk the finished shower with you. We fix touch-ups on the spot and explain how to care for tile, grout, glass and fixtures.
You receive care instructions and a record of what was installed.
We stay reachable afterward for any questions.
At the walkthrough, run the water yourself and look at the shower in different light. Small touch-ups are easy to fix on the spot, and we would rather hear about them than have you notice later.
A good shower project is a clear scope, careful waterproofing, tested connections and a final walkthrough.